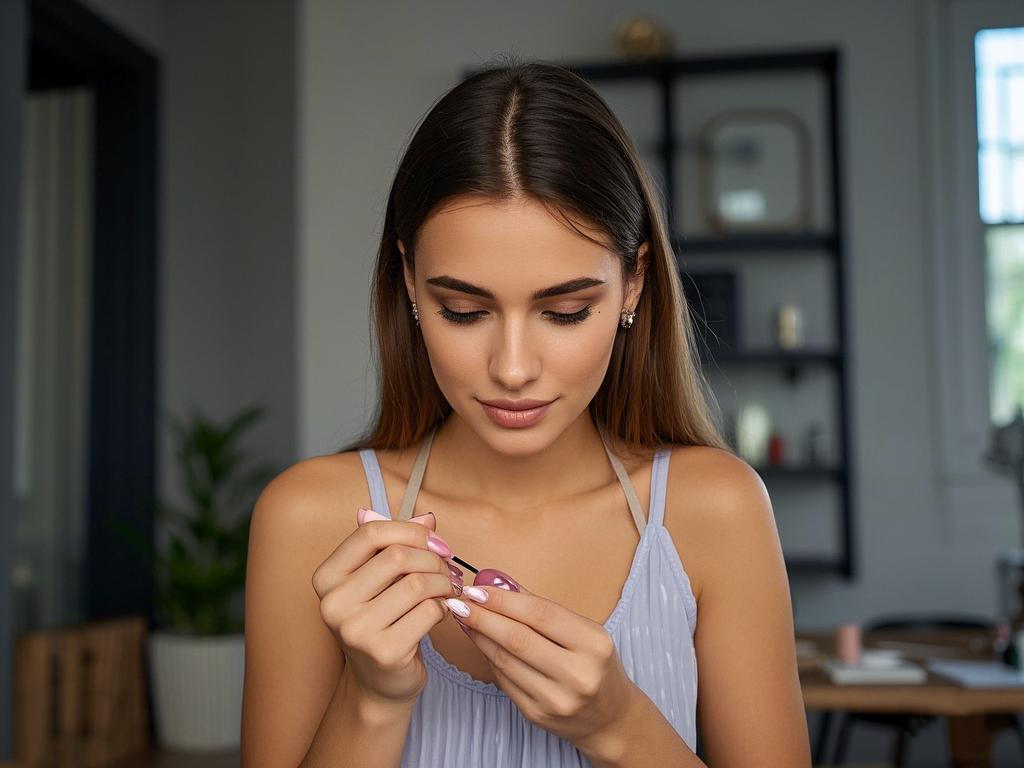
DIY Nail Art Adventures: How I Became My Own Nail Artist
Share
Let’s be honest—getting your nails done at a salon is a luxury, both in time and money. But during one particularly busy month, I decided to take matters into my own hands (literally) and try DIY nail art at home. What started as a desperate attempt to save cash turned into a fun, creative hobby that I now look forward to every week. Here’s my story and some practical tips to help you start your own at-home nail art journey!
The First Attempt: A Messy Masterpiece
My first DIY nail art session was… well, let’s just say it wasn’t Instagram-worthy. Armed with a cheap nail polish set and a toothpick (because I didn’t own proper tools), I attempted to create a floral design. The result? Smudged colors, polish all over my cuticles, and one very frustrated me. But hey, everyone starts somewhere, right?

Practical Tip: Invest in a basic nail art kit. You don’t need anything fancy—just a few dotting tools, a thin brush, and some tape for clean lines. Trust me, it makes a world of difference!

The Game-Changer: Stickers and Stencils
After my initial disaster, I discovered nail stickers and stencils. These little lifesavers made me feel like a professional nail artist without the hassle. I remember the first time I used a galaxy-themed sticker set—my nails looked like a starry night sky, and I couldn’t stop showing them off.
Practical Tip: Nail stickers are perfect for beginners. They’re easy to apply, come in endless designs, and last longer than hand-painted art. Plus, they’re a great way to experiment with bold patterns.

The Gel Polish Experiment
One day, I decided to level up and try gel polish at home. I bought a UV lamp and a few gel colors, excited to achieve that salon-quality shine. The first few tries were a learning curve—I learned the hard way that curing each layer properly is crucial. But once I got the hang of it, I was hooked. My nails looked glossy and chip-free for weeks!
Practical Tip: If you’re using gel polish, always apply thin layers and cure them under the lamp as directed. And don’t forget to prep your nails properly—buffing and using a primer can make all the difference.

The Joy of Nail Care
Over time, I realized that nail art isn’t just about the design—it’s also about taking care of your nails. I started incorporating cuticle oil into my routine and noticed how much healthier my nails looked. It became a relaxing ritual, a moment of self-care in my busy week.
Practical Tip: Don’t skip the basics. Keep your nails and cuticles moisturized, and always use a base coat to protect your nails from staining.
Final Thoughts: Nail Art as Self-Expression
What began as a way to save money turned into a creative outlet and a form of self-expression. Now, I love experimenting with different colors, patterns, and techniques. It’s not always perfect, but that’s part of the fun. Plus, there’s something incredibly satisfying about looking at your nails and thinking, “I did that!”

So, grab some polish, unleash your creativity, and start your own DIY nail art adventure. Who knows? You might just discover a hidden talent—or at least have a lot of fun trying!
What’s your favorite nail art design or tip? Share it in the comments—I’d love to hear your stories! ---Idyllbeauty
